Read the upload requirements first
A small file is useful only if the portal accepts its format, dimensions, and visible content. Before editing, note the allowed file types, minimum and maximum size, required width and height, and photo or signature rules. A 20KB upper limit is not the same as a requirement for exactly 20KB. Follow the specific form instructions instead of assuming every exam portal uses the same rules.
Keep the original image unchanged and work on a copy. Do not use AI generation or retouching to invent details in an identity photograph or signature. The task is to encode and resize the real image while preserving what the receiving service needs. If the source is already blurry, aggressive compression cannot restore the missing detail.
Understand the three controls
Cropping removes unwanted parts of the frame. Resizing changes pixel dimensions. Compression changes how the image information is stored. They solve different problems: cropping can improve framing, resizing can remove unnecessary pixels, and JPEG quality settings can reduce file size at the cost of detail. Do not shrink below a mandatory pixel size just to satisfy the byte limit.
Use a file format the portal actually accepts. JPEG is often appropriate for photographs, while a simple signature may behave differently when encoded. Converting the filename from .png to .jpg does not convert the image. Export through an image editor and check the resulting file type. Transparent artwork also needs a suitable background if the chosen format cannot preserve transparency.
A repeatable compression workflow
Open a copy in an editor with resize and export controls. Crop according to the form instructions, keeping the required face, shoulders, or complete signature visible. Set the required dimensions while preserving proportions. If the required shape differs from the original, crop to that shape rather than stretching the face or squeezing the signature.
Export in an accepted format and inspect the file size. If the size is too large and dimensions are mandatory, lower JPEG quality gradually while keeping those dimensions. If dimensions are flexible, try a modest reduction and export again. Work from the original copy for each attempt instead of repeatedly recompressing a previously compressed download.
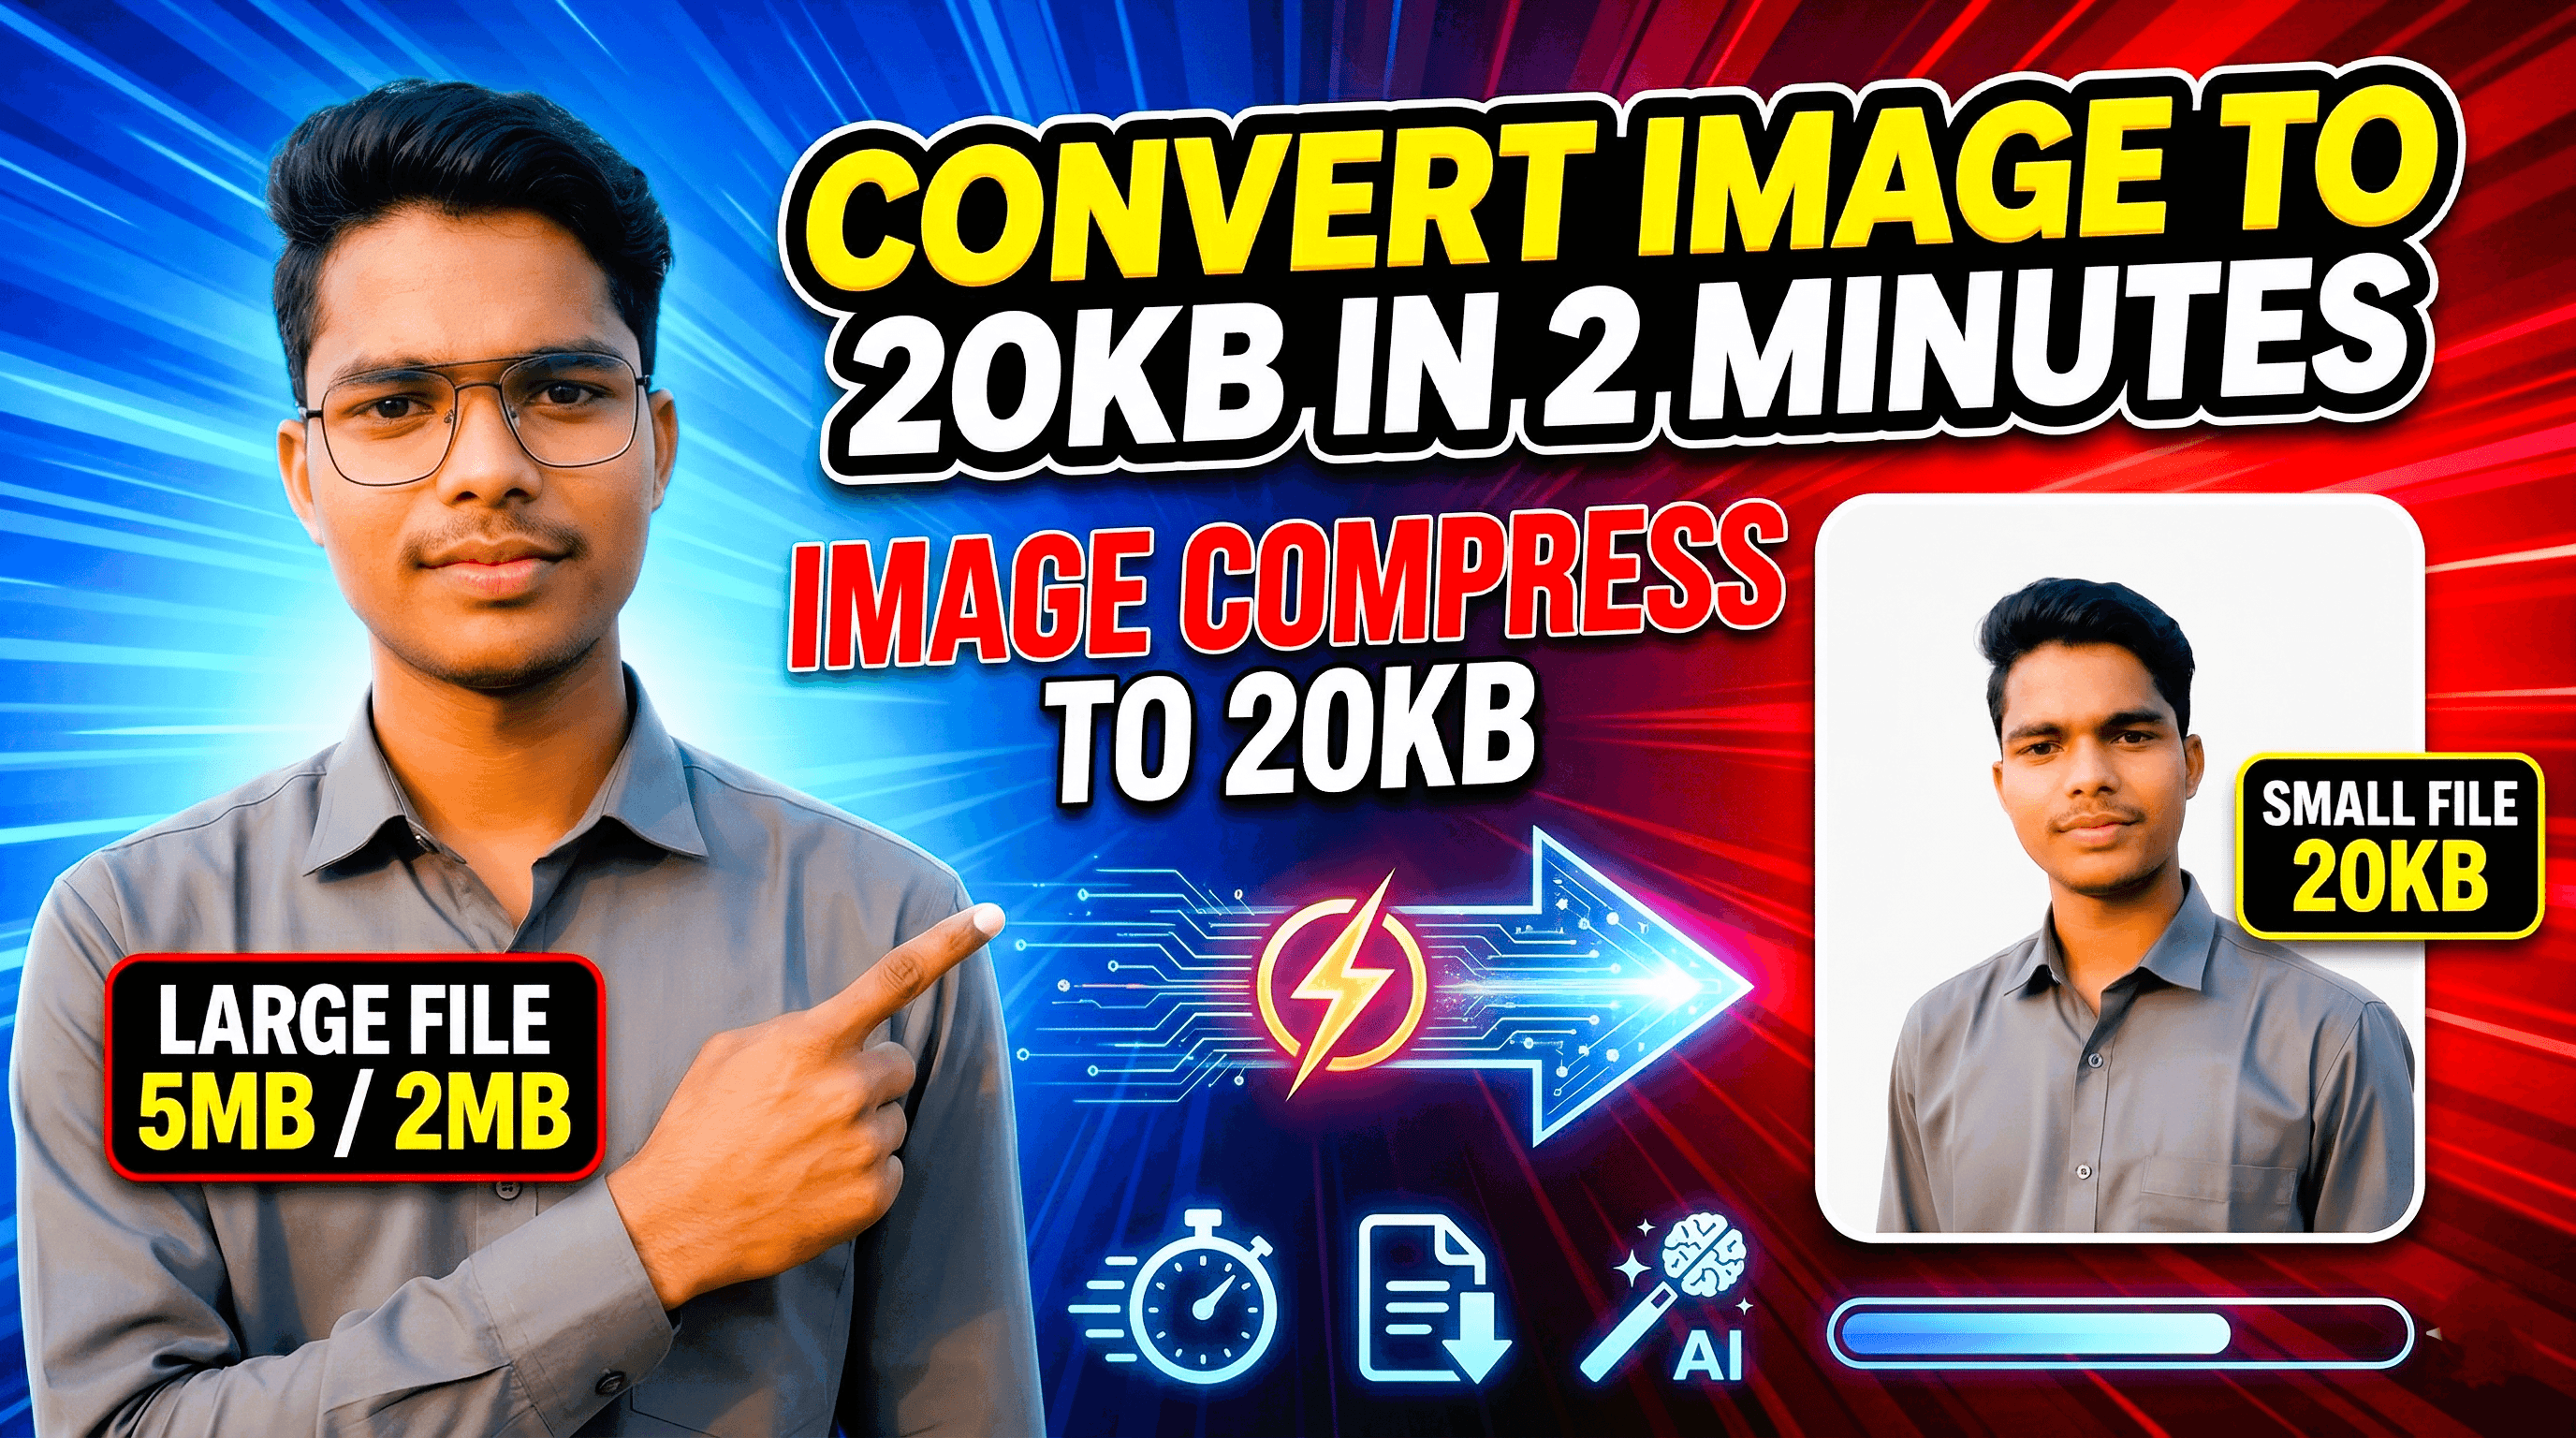
Stop when the file meets both size and clarity requirements. A quality slider value is not a predictable size: two photographs exported with the same dimensions and quality can produce different numbers of bytes. Busy backgrounds and fine detail influence the result. This is why a universal promise of an exact size in two minutes is not reliable.
Illustrative example: choose the next adjustment
Suppose a fictional portal requires a JPEG at 200 by 230 pixels and below 20,000 bytes. You export a correctly cropped photo at those dimensions and its size is 24,600 bytes. The next adjustment should be JPEG quality, because shrinking to 150 by 173 would violate this example's required dimensions. These numbers describe a worked scenario, not the rules of an actual application.
Imagine the next export is 18,900 bytes and the face remains clear at normal viewing size. That would satisfy the example's byte limit, but you must still check the portal preview. If the eyes or signature strokes are damaged, return to a better source or use a less detailed permitted crop. A file below the limit can still be unusable.
Verify bytes and the actual uploaded file
File managers may round the displayed kilobytes. Check the detailed file properties when you are close to the boundary. Some systems describe a kilobyte using 1,000 bytes and others use 1,024, so a modest margin below the stated maximum avoids depending on that distinction. Also check whether the form imposes a minimum size; smaller is not always better.
Use a clear filename for the final version so you do not accidentally select the original large image. After upload, inspect the preview and any success message before moving to the next page. Keep the accepted file together with the application record. Do not assume a renamed or cached preview proves the latest export was uploaded.
Common failures and how to respond
File too large: inspect actual bytes and check that you selected the new export. Invalid dimensions: return to the required width and height, then adjust compression rather than geometry. Unsupported type: perform a real conversion in your editor. Blurry signature: start with a sharper scan, keep all strokes visible, and avoid repeatedly saving an already degraded copy.
If an upload still fails despite a valid file, read the exact error and check the form instructions again. There may be a filename, orientation, colour, or background requirement. Do not keep lowering quality without knowing which validation failed. For a sensitive identity image, prefer a trusted local editor when possible and review any online service before uploading personal documents.
Technical reference and final checklist
For developers building an image export tool, MDN documents canvas image export and lossy quality controls. The quality argument applies to supported lossy formats; it is not a target-byte-size setting. A tool still needs to inspect the exported file and report whether it meets the requested limit.
Before submission, check the original requirement against the final file: accepted format, required pixel dimensions, allowed byte range, complete subject, and readable detail. Keep an untouched original and the accepted compressed copy. The goal is a valid, usable upload, not merely the smallest number shown by a compressor.